
Separate Stream Audio Without VoiceMeeter: The Easy Fix
How to separate stream audio without VoiceMeeter. Isolate game audio, Discord, and music natively in OBS Studio using built-in Windows tools.
Josh Sorenson | https://www.pexels.com/@joshsorenson
If you have spent any time trying to improve a live broadcast, you have likely run into the dreaded audio routing rabbit hole. You want your stream to hear your game, your microphone, and your voice chat. But maybe you want to listen to copyrighted music without it getting saved to your stream archives, or perhaps you want to adjust your friends’ volume on Discord without changing the volume of the game for your viewers.
For years, the universal answer to this problem was a software utility called VoiceMeeter. You would download the virtual mixer, install virtual audio cables, restart your computer, and spend hours staring at a complex user interface that looked like a cockpit from a 1990s flight simulator. You toggled virtual inputs, set up complex routing tables, and hoped a Windows update wouldn’t break your entire configuration before your next broadcast.
The reality is that you do not need VoiceMeeter anymore. The era of installing clunky, system-level virtual audio mixers just to separate your stream audio is over. There is a native, incredibly stable solution built directly into modern streaming software that handles this task with zero added CPU overhead and no risk of breaking your Windows audio drivers.
Why VoiceMeeter Has Become a System Liability
To understand why the alternative is so much better, it helps to understand why VoiceMeeter causes so many issues for modern computer systems. VoiceMeeter operates by installing kernel-level virtual audio drivers. When you set it up, you tell Windows to route all system audio through these virtual drivers, which VoiceMeeter then processes and sends to your actual physical headphones and microphone.
Because these drivers operate deep within the Windows audio subsystem, they are highly sensitive to changes. A routine Windows cumulative update can easily reset your default playback devices, breaking the entire audio chain.
Furthermore, VoiceMeeter is prone to buffer issues. If your computer experiences a brief spike in CPU usage while playing a demanding game, VoiceMeeter’s audio buffer can struggle to keep up. This results in the infamous “robotic voice” glitch, audio crackling, or a complete loss of audio sync over the course of a multi-hour stream. Fixing this usually requires restarting the audio engine mid-stream, which is a frustrating experience for both you and your audience.
Finally, getting rid of VoiceMeeter is notoriously difficult. Simply dragging the application to the trash or running the basic uninstaller often leaves orphaned virtual drivers in your Windows Device Manager. These leftover drivers can cause persistent routing conflicts, leaving you wondering why your default headphones occasionally stop working.
The Modern Fix: Native Application Audio Capture
The solution that has replaced virtual mixers is built directly into OBS Studio. It is called Application Audio Capture.
In the past, Windows did not allow software to capture audio from individual programs easily. If you wanted to capture audio, you had to capture the entire “Desktop Audio” device. This meant everything that came out of your speakers—your game, Discord, system alerts, and web browser—was bundled into one single audio track.
Microsoft eventually updated the Windows audio architecture to allow per-process audio loopback. OBS Studio utilized this change to introduce native application-level capture. Instead of grabbing the main highway of your system sound, OBS can now tap directly into the audio output stream of any specific application running on your PC.
Using this feature offers several major benefits:
- Zero Latency: Audio is captured directly from the application and sent straight to OBS, bypassing any virtual mixing software.
- No Extra CPU Overhead: Since it utilizes built-in Windows APIs, it does not require a background application to run and consume system resources.
- Rock-Solid Stability: If Windows updates, your audio setup remains intact because you are not relying on custom virtual audio drivers.
- Granular Control: You can mute, adjust, and apply filters (like compressors or limiters) to your game, music, and voice chat completely independently.
Step-by-Step: Setting Up Separated Audio in OBS
Transitioning to this setup requires disabling your old global audio configuration and building your audio mixer from scratch using individual application inputs.
Step 1: Clean Your Audio Canvas
Before you add individual application captures, you must disable the global desktop audio capture. If you do not do this, OBS will capture the audio from your individual applications and capture them again through the desktop audio source, resulting in a hollow, echoing sound.
- Open OBS Studio.
- Click on Settings in the bottom right corner (or go to
File > Settings). - Navigate to the Audio tab on the left menu.
- Under the Global Audio Devices section, find Desktop Audio and set it to Disabled. If you have a secondary desktop audio device enabled, disable that as well.
- Keep your physical microphone selected under Mic/Auxiliary Audio.
- Click Apply and then OK.
At this point, your Audio Mixer panel in the main OBS window should look empty, displaying only your microphone. This is exactly what you want.
Step 2: Add Your Game Audio
Now, you will add each application as an individual source. Start with the game you want to stream.
- Launch the game you plan to play so that it is running in the background.
- In OBS, go to the Sources dock and click the + (plus) icon.
- Select Application Audio Capture from the list.
- Name the source something clear, such as
Audio - Game, and click OK. - In the properties window that appears, look for the Window dropdown menu.
- Select your game’s executable file from the list (for example,
valheim.exeorcyberpunk2077.exe). - Leave the Window Match Priority at its default setting (“Match title, otherwise find window of same type”).
- Click OK.
You should now see a new volume slider in your Audio Mixer labeled Audio - Game. When you tab into your game and make noise, you will see the green volume bar move in OBS, but you won’t hear any other computer sounds on that track.
Step 3: Add Your Voice Chat (Discord)
Next, separate your voice chat so you can control your friends’ volume independently of your game and music.
- Make sure Discord (or whatever voice client you use) is open.
- Click the + icon in the Sources dock and select Application Audio Capture.
- Name it
Audio - Discordand click OK. - In the Window dropdown, select the Discord executable (usually
Discord.exe). - Click OK.
You now have a dedicated slider for your voice chat. If your friends are screaming or typing loudly, you can pull their volume down in OBS without lowering the volume of your game or your own microphone.
Step 4: Add Your Music Player
Finally, let’s capture your music player of choice, such as Spotify or a web browser tab playing royalty-free music.
- Open Spotify or your browser.
- Play a track so the application actively registers audio output in Windows.
- Click the + icon in the Sources dock and select Application Audio Capture.
- Name it
Audio - Musicand click OK. - Select the application from the Window dropdown (e.g.,
Spotify.exeor your browser executable likechrome.exe). - Click OK.
How to Set Up the Twitch VOD Track (No Copyright Strikes)
One of the primary reasons streamers want to separate their audio is to play music live on stream without having that music saved to their recorded broadcasts (VODs). This protects your channel from automated copyright claims and keeps your archived videos from being muted.
Now that your audio sources are split, configuring this split takes less than a minute.
Step 1: Configure Your Output Settings
- Open OBS Settings.
- Click on the Output tab.
- Make sure your Output Mode at the top is set to Advanced.
- Under the Streaming tab, locate the Audio Track and Twitch VOD Track settings.
- Check the box next to Twitch VOD Track.
- Set the primary Audio Track to 1 (this is what your live viewers will hear).
- Set the Twitch VOD Track to 2 (this is what will be saved as the archive on Twitch).
- Click Apply.
Step 2: Configure the Audio Matrix
Now you must tell OBS which sources belong on which track.
- In the Audio Mixer panel of OBS, click the gear icon (or three dots) next to any of your audio sources and select Advanced Audio Properties.
- A grid will open showing all of your active audio sources on the left, and six numbered tracks on the right.
- Look at Track 1 (your live stream). Ensure that the checkboxes for all your audio sources (Game, Discord, Mic, and Music) are checked. This ensures your live audience hears everything.
- Look at Track 2 (your Twitch VOD). Check the boxes for your Game, Discord, and Mic. Uncheck the box for your Music source.
- Close the window.
When you go live, OBS will broadcast Track 1, containing your music. At the same time, it will send Track 2 to Twitch’s VOD servers. When your stream ends, the recorded video saved to your channel will contain your voice and game audio, but the music track will be completely absent.
Alternatives for Advanced Audio Routing
While the built-in OBS solution is perfect for most users, you might run into a situation where you need more advanced control. For example, if you want to apply a custom equalizer to your game audio for your own ears, but you do not want that equalizer applied to the stream. Because OBS captures audio after it leaves the application but before it reaches your headphones, OBS cannot change what you personally hear.
If you need a master control panel for your own listening mix alongside your stream mix, there are modern alternatives to VoiceMeeter that are far more stable and user-friendly.
SteelSeries Sonar
SteelSeries Sonar is a free software suite built into the SteelSeries GG platform. Despite being made by a hardware company, it works with any headset, microphone, or audio device.
Sonar works by creating clean virtual devices on your computer (Game, Chat, Media, Aux, and Mic) and organizing them inside a clean dashboard. You can drag and drop applications into these channels and use a parametric EQ to tune your game audio. It also features built-in ClearCast AI noise cancellation, which is highly effective at removing background fan noise or keyboard clicks from your microphone.
Elgato Wave Link
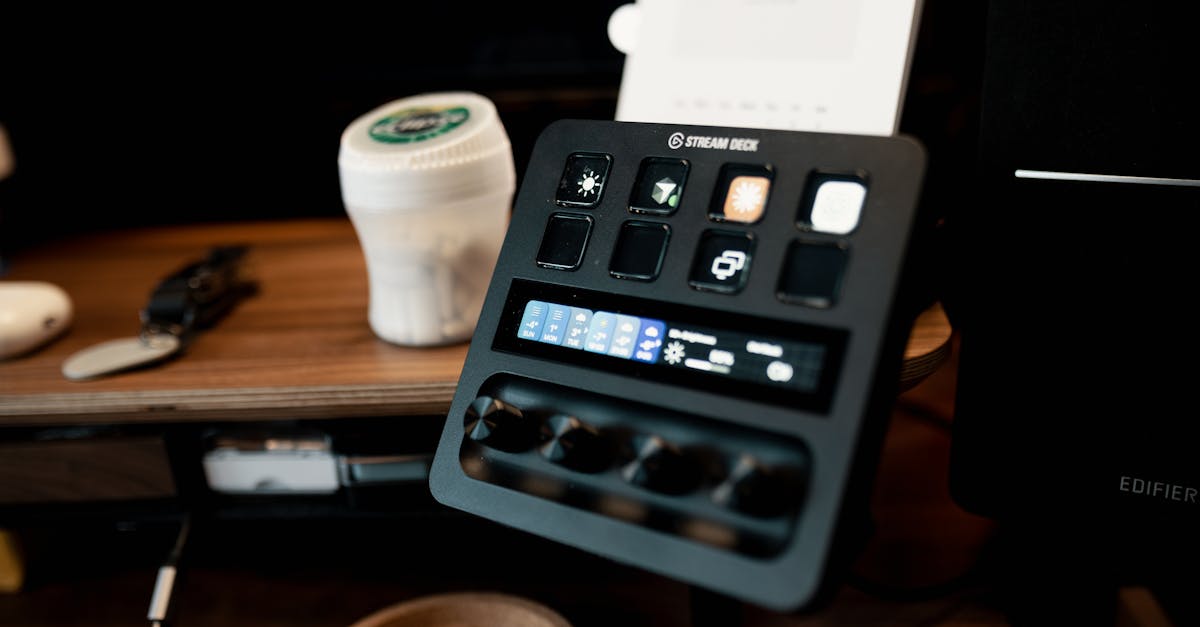
If you own an Elgato device—such as a Wave microphone or a Stream Deck +—you gain access to Wave Link. Wave Link has become the gold standard for stream audio management. It functions similarly to VoiceMeeter but features a polished interface designed specifically for content creation.
Wave Link provides two distinct output mixes: the “Local Mix” (what you hear in your headphones) and the “Stream Mix” (what your audience hears). You can easily mute music in your own ears while keeping it playing for the stream, or turn up your friends on Discord to hear them over a loud game without making them deafening for your viewers.
How to Completely Uninstall VoiceMeeter
If you decide to switch to the native OBS configuration or one of the modern software alternatives, you must clean out VoiceMeeter completely to avoid system conflicts. Follow these steps to ensure no lingering virtual drivers remain on your Windows installation.
- Disable Auto-Start: Open VoiceMeeter, click on the Menu button in the top right, and uncheck System Tray (Run at Startup).
- Reset Windows Defaults: Click the speaker icon in your Windows system tray, click the sound output menu, and change your default playback device back to your actual headphones or speakers (not VoiceMeeter Input). Do the same for your default recording device.
- Run the Uninstaller: Go to Windows Settings > Apps > Installed Apps. Locate VoiceMeeter (and any VB-Audio Virtual Cables you installed) and click Uninstall.
- Remove Leftover Drivers:
- Right-click the Windows Start button and select Device Manager.
- Expand the Sound, video and game controllers section.
- If you see any entries for “VoiceMeeter” or “VB-Audio,” right-click them and select Uninstall device. Check the box that says “Attempt to remove the driver for this device” if it appears.
- Restart Your PC: Reboot your computer immediately. This allows Windows to clear out the driver stack and reinitialize your default physical audio hardware.
Once your system restarts, you will have a clean audio pipeline. By moving your audio routing directly into OBS Studio or modern, hardware-supported software, you protect your system from stability issues and free up valuable system resources for your games and stream encoding.
About the author
The ZQStream Team
Writes long-form essays on Live Streaming Tips, Video Editing Tutorials, and Content Creator Gear and related topics. Curated by the editorial team behind ZQStream.
Read more