USB vs XLR Microphones for Streaming: Which is Better?
Compare USB vs XLR microphones for streaming. Discover the differences in sound quality, cost, and ease of use to choose the best mic for your setup.

Lutfi Elyas | https://www.pexels.com/@lutfi-elyas-274851637
Choosing the right microphone is one of the most critical decisions you will make when building or upgrading your streaming setup. Clear audio keeps viewers engaged, while muffled, echo-heavy, or distorted sound will drive them away faster than low-resolution gameplay.
For years, the advice was simple: beginners should buy a USB microphone, and professionals must invest in an XLR setup. But as audio technology has evolved, that line has blurred. High-end USB microphones now rival studio-grade XLR setups in raw audio quality, and hybrid microphones offer the flexibility of both interfaces in a single unit.
Deciding between USB and XLR is no longer about which option sounds “better” out of the box. Instead, it comes down to your workflow, your budget, and how you plan to grow your streaming channel over time.
Understanding the Core Technology: USB vs. XLR
To make an informed decision, you need to understand how these two types of microphones process your voice and send it to your computer.
The USB Microphone: All-in-One Convenience
A USB microphone is a complete audio system housed inside a single chassis. It contains the microphone capsule (which captures the sound waves), a preamplifier (which boosts the weak signal from the capsule), and an analog-to-digital converter (ADC) that translates your voice into digital data your computer can understand.
When you plug a USB microphone into your PC or console, the computer recognizes it as an audio input device. The processing happens entirely within the microphone itself. This internal conversion is what makes USB mics incredibly convenient, but it also means you are locked into the quality of the built-in preamp and converter.
The XLR Microphone: The Modular Audio Engine
An XLR microphone is a purely analog device. It features a three-pin XLR connector that outputs a low-voltage analog signal. Unlike a USB microphone, an XLR mic cannot communicate directly with a computer. It requires an external audio interface or a hardware mixer to convert the analog electrical signal into a digital format.
In an XLR setup, your audio chain is split into separate components:
- The Microphone: Captures the acoustic sound.
- The XLR Cable: Carries the balanced analog signal without picking up electrical interference.
- The Audio Interface/Mixer: Provides phantom power (if needed), amplifies the signal using its built-in preamps, and converts the analog signal to digital via USB to your computer.
This modular design is the foundation of professional audio recording, allowing you to swap out any single component without replacing the entire chain.
Sound Quality: Has USB Caught Up to XLR?
One of the most persistent myths in the streaming community is that an XLR microphone automatically sounds better than a USB microphone. While this was true a decade ago, modern digital-to-analog converters and preamps have shrunk to the point where they fit easily inside a standard microphone housing.
In blind audio tests, listeners struggle to distinguish between a high-quality USB microphone and a mid-range XLR microphone. When your audio is compressed through streaming platforms like Twitch, YouTube, or Kick, the minute differences in analog warmth or dynamic range become even harder to detect.
The raw sound quality of your stream is influenced far more by the following factors than by the connector type:
- Microphone Type (Dynamic vs. Condenser): Condenser microphones are highly sensitive and capture crisp detail, but they also pick up room echo, keyboard clicks, and background noise. Dynamic microphones are less sensitive, requiring you to speak closer to the capsule, but they excel at rejecting ambient room noise.
- Room Acoustics: A $400 XLR microphone will sound terrible in a room with bare walls and hardwood floors because of sound reflections. A $50 USB microphone in a carpeted room with soft furnishings will sound cleaner and more professional.
- Microphone Technique: Keeping the microphone close to your mouth (around 4 to 6 inches) and setting your gain levels correctly has a greater impact on your audio quality than the transmission cable.
If your primary concern is whether a USB microphone will sound “good enough” for a live stream, the answer is a definitive yes.
The Advantages of USB Microphones
USB microphones dominate the streaming market for several practical reasons. For solo creators, they offer an efficient path to high-quality audio.
Plug-and-Play Simplicity
The most significant benefit of a USB microphone is how easy it is to use. You do not need to install complex drivers, configure hardware routing, or learn the basics of audio engineering. You simply plug the cable into your computer, select the microphone as your input device in OBS, Streamlabs, or Discord, and start broadcasting. This simplicity eliminates troubleshooting headaches during a live broadcast.
Cost-Effectiveness
Building an XLR setup requires purchasing the microphone, a boom arm, an XLR cable, and an audio interface. With a USB microphone, everything you need is included in one box. This makes USB microphones a budget-friendly entry point, leaving you with more resources to invest in other areas of your setup, such as lighting or a better camera.
Software Integration and DSP
Many modern USB microphones come with dedicated software suites that allow you to adjust your sound directly on the microphone’s internal chip. Features like digital signal processing (DSP), high-pass filters, limiters, and noise reduction can be controlled via an app on your computer.
Because this processing happens on the hardware level within the microphone, it does not tax your computer’s CPU, allowing you to maintain high gaming performance while processing your voice in real time.
The Advantages of XLR Microphones
While USB microphones excel in convenience, XLR setups offer unmatched flexibility and control for creators who want to build a long-term studio environment.
Modularity and Upgradability
If a component in a USB microphone breaks—whether it is the USB port, the internal preamp, or the capsule—the entire microphone is useless.
With an XLR setup, you can upgrade or replace parts of your system gradually. If you want a warmer vocal tone, you can buy a new microphone and plug it into your existing audio interface. If you need more inputs or better physical dials, you can replace your interface while keeping your favorite microphone.
Hardware-Level Tactile Control
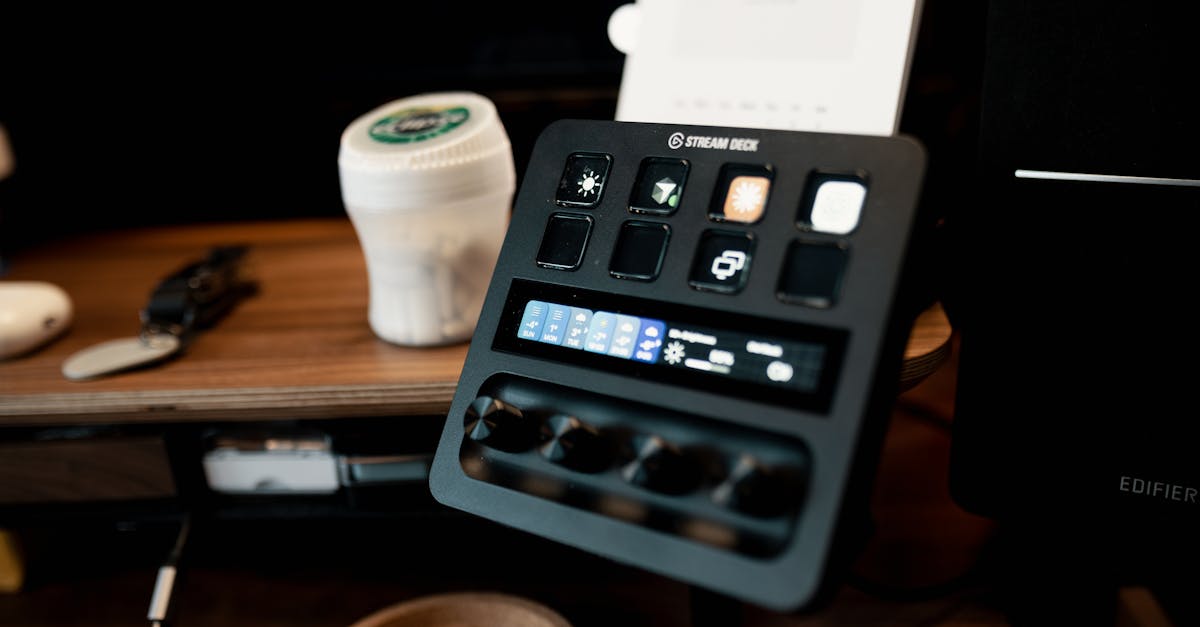
Adjusting your volume, mute status, or audio mix using software sliders during a fast-paced game can be frustrating. An XLR setup paired with an audio interface or physical mixer puts tactile controls at your fingertips. You can adjust your gain, monitor volume, and game-to-voice balance using physical knobs and faders without minimizing your stream or game window.
Solving the Multi-Person Routing Nightmare
If you plan to host co-hosts, guests, or interviewees in the same room, avoid USB microphones.
Computers are designed to handle one USB audio input device at a time. Trying to run two USB microphones simultaneously on a single PC requires complex software routing workarounds, virtual audio cables, and aggregate devices. These workarounds often lead to audio desync, driver crashes, and audio drift.
An XLR interface or mixer is built specifically to handle multiple inputs. You can plug two, three, or four XLR microphones into a single interface, adjust their levels independently, and send them to your computer as clean, distinct audio tracks.
The Hybrid Compromise: The Smartest Entry Point?
If you are torn between the immediate convenience of USB and the long-term expandability of XLR, hybrid microphones offer a compelling middle ground.
Mics like the Shure MV7+, RØDE PodMic USB, and FIFINE K688 feature both a USB-C port and a traditional three-pin XLR port on the bottom of the chassis.
[Hybrid Microphone]
       │
       ├─► [USB-C Port] ──► Direct to PC (Convenient / Built-in DSP)
       │
       └─► [XLR Port]   ──► Audio Interface ──► PC (Expandable / Modular)
This dual-connectivity design allows you to start your streaming journey with a simple USB connection. You can plug the microphone directly into your PC, utilize the manufacturer’s software for EQ and noise suppression, and get your stream up and running instantly.
Later, as your budget grows and you decide to invest in an audio interface or a hardware mixer, you do not need to buy a new microphone. You simply unplug the USB cable, connect an XLR cable to your new interface, and transition your setup into a professional modular system.
The Hybrid Caveat
If you choose a hybrid microphone, keep in mind that the internal processing features—such as auto-gain, built-in EQ presets, and noise gating—only function when the microphone is connected via USB. Once you switch to the XLR connection, you bypass the internal digital converter and preamps entirely. Your sound will depend on the preamps of your external audio interface, and you will need to apply any EQ or compression using software plugins in OBS or your hardware mixer.
Calculating the Hidden Costs of XLR
When comparing prices, beginners often look at the cost of the microphone capsule alone and assume an XLR setup is comparable in price to a USB setup. However, the XLR ecosystem requires several supporting components to function.
- The Audio Interface: A reliable entry-level interface or specialized streaming mixer (like the Elgato Wave XLR, Focusrite Scarlett Solo, or Lewitt Connect 6) will cost between $100 and $200.
- The XLR Cable: You will need a balanced, shielded XLR cable to prevent radio frequency interference and electrical hum. A decent cable costs between $15 and $30.
- Microphone Stands and Shock Mounts: Many USB microphones come with a desktop stand included. XLR microphones rarely do; they are designed to be mounted on a studio boom arm, which can add another $30 to $100 to your budget.
- Signal Boosters (Inline Preamps): Popular broadcast-style dynamic microphones, such as the Shure SM7B or Electro-Voice RE20, require a massive amount of clean gain to sound clear. Budget audio interfaces often lack the power to drive these microphones without introducing hiss. To solve this, you may need an inline preamp (like a Cloudlifter, FetHead, or Dynamite) to boost the signal before it reaches your interface, adding another $70 to $150 to your total cost.
Before choosing the XLR path, calculate the total cost of the entire signal chain, not just the microphone itself.
Which Setup Fits Your Streaming Style?
To help you make the final decision, look at how you plan to stream and manage your content on a daily basis.
Choose a USB Microphone If:
- You are a solo creator: You stream alone, sit at your desk, and do not need to capture audio from multiple people in the room.
- You value portability: You stream from a laptop while traveling, at events, or from different rooms in your house. Packing a single USB cable and microphone is far easier than transporting an audio interface and XLR cables.
- You want a clean, minimalist desk: You prefer to keep cables to a minimum and do not want an external mixing box taking up space on your desk.
- Your budget is tight: You want to get the best possible audio quality for under $150 without worrying about buying extra accessories.
Choose an XLR Microphone If:
- You plan to host multi-person streams: You run a podcast panel, host co-hosts in your studio, or do live interviews where multiple physical microphones are required.
- You want tactile, real-time control: You want to reach down and turn a physical knob to adjust your microphone volume, game audio, or voice chat balance without interrupting your gameplay.
- You want a modular system: You enjoy tweaking hardware, upgrading your gear over time, and customizing your vocal chain.
- You stream in a noisy environment: If you choose a high-quality dynamic XLR microphone, it will be much easier to reject background noise, keyboard clicks, and PC fan noise than it would be with a sensitive USB condenser microphone.
The 30-Day Rule for Upgrading
If you are just starting out, it is easy to get caught up in gear acquisition syndrome, believing that professional gear will make your stream successful. However, your content, consistency, and interaction with your audience are what build a community.
Consider implementing the 30-Day Rule: start with a reliable, high-quality USB microphone (or a hybrid microphone used in USB mode). Stream consistently for 30 to 60 days. This period will help you identify the actual limitations of your setup.
If you find yourself constantly wishing you could adjust your volume with a physical knob, or if you plan to bring a co-host onto your live show, that is your signal to upgrade to an XLR interface. If your USB setup works flawlessly and your viewers say your audio sounds crisp and clear, keep your money in your pocket and focus on making great streams.
About the author
The ZQStream Team
Writes long-form essays on Live Streaming Tips, Video Editing Tutorials, and Content Creator Gear and related topics. Curated by the editorial team behind ZQStream.
Read more